


From Weedy Mess to Native Garden Oasis
Story and photos by Jessica Calvillo
“I want to start a native garden but my area is covered in lawn/weeds. What should I do?”
This is a common question I get asked by many new gardeners looking to redo their landscape. The issue of tackling a thick carpet of weeds or lawn grass can often seem like a barrier to many gardeners. Some people try to rip out all their grass and weeds manually or spray them with herbicides out of sheer desperation, but there is another way that is better for your back and for the environment! Some people call it the “lasagna method” or more commonly, “sheet mulching.” Like the typical mulching method of spreading wood chips over the ground, sheet mulching uses the same concept of suppressing weeds by inhibiting germination and photosynthesis but takes it to the next level while also feeding the soil. This method has rightfully been gaining popularity due to its effectiveness and the resulting beauty of the gardens it produces. In this article I will share the step by step methods that I and other gardeners have followed to create your weed free oasis!
“How do I start and what do I need?”
The recipe for your sheet mulch lasagna is pretty simple and can be adjusted to your needs and budget. Below are the steps and ingredients you will need listed in the order they should be followed.
Preparing the area:
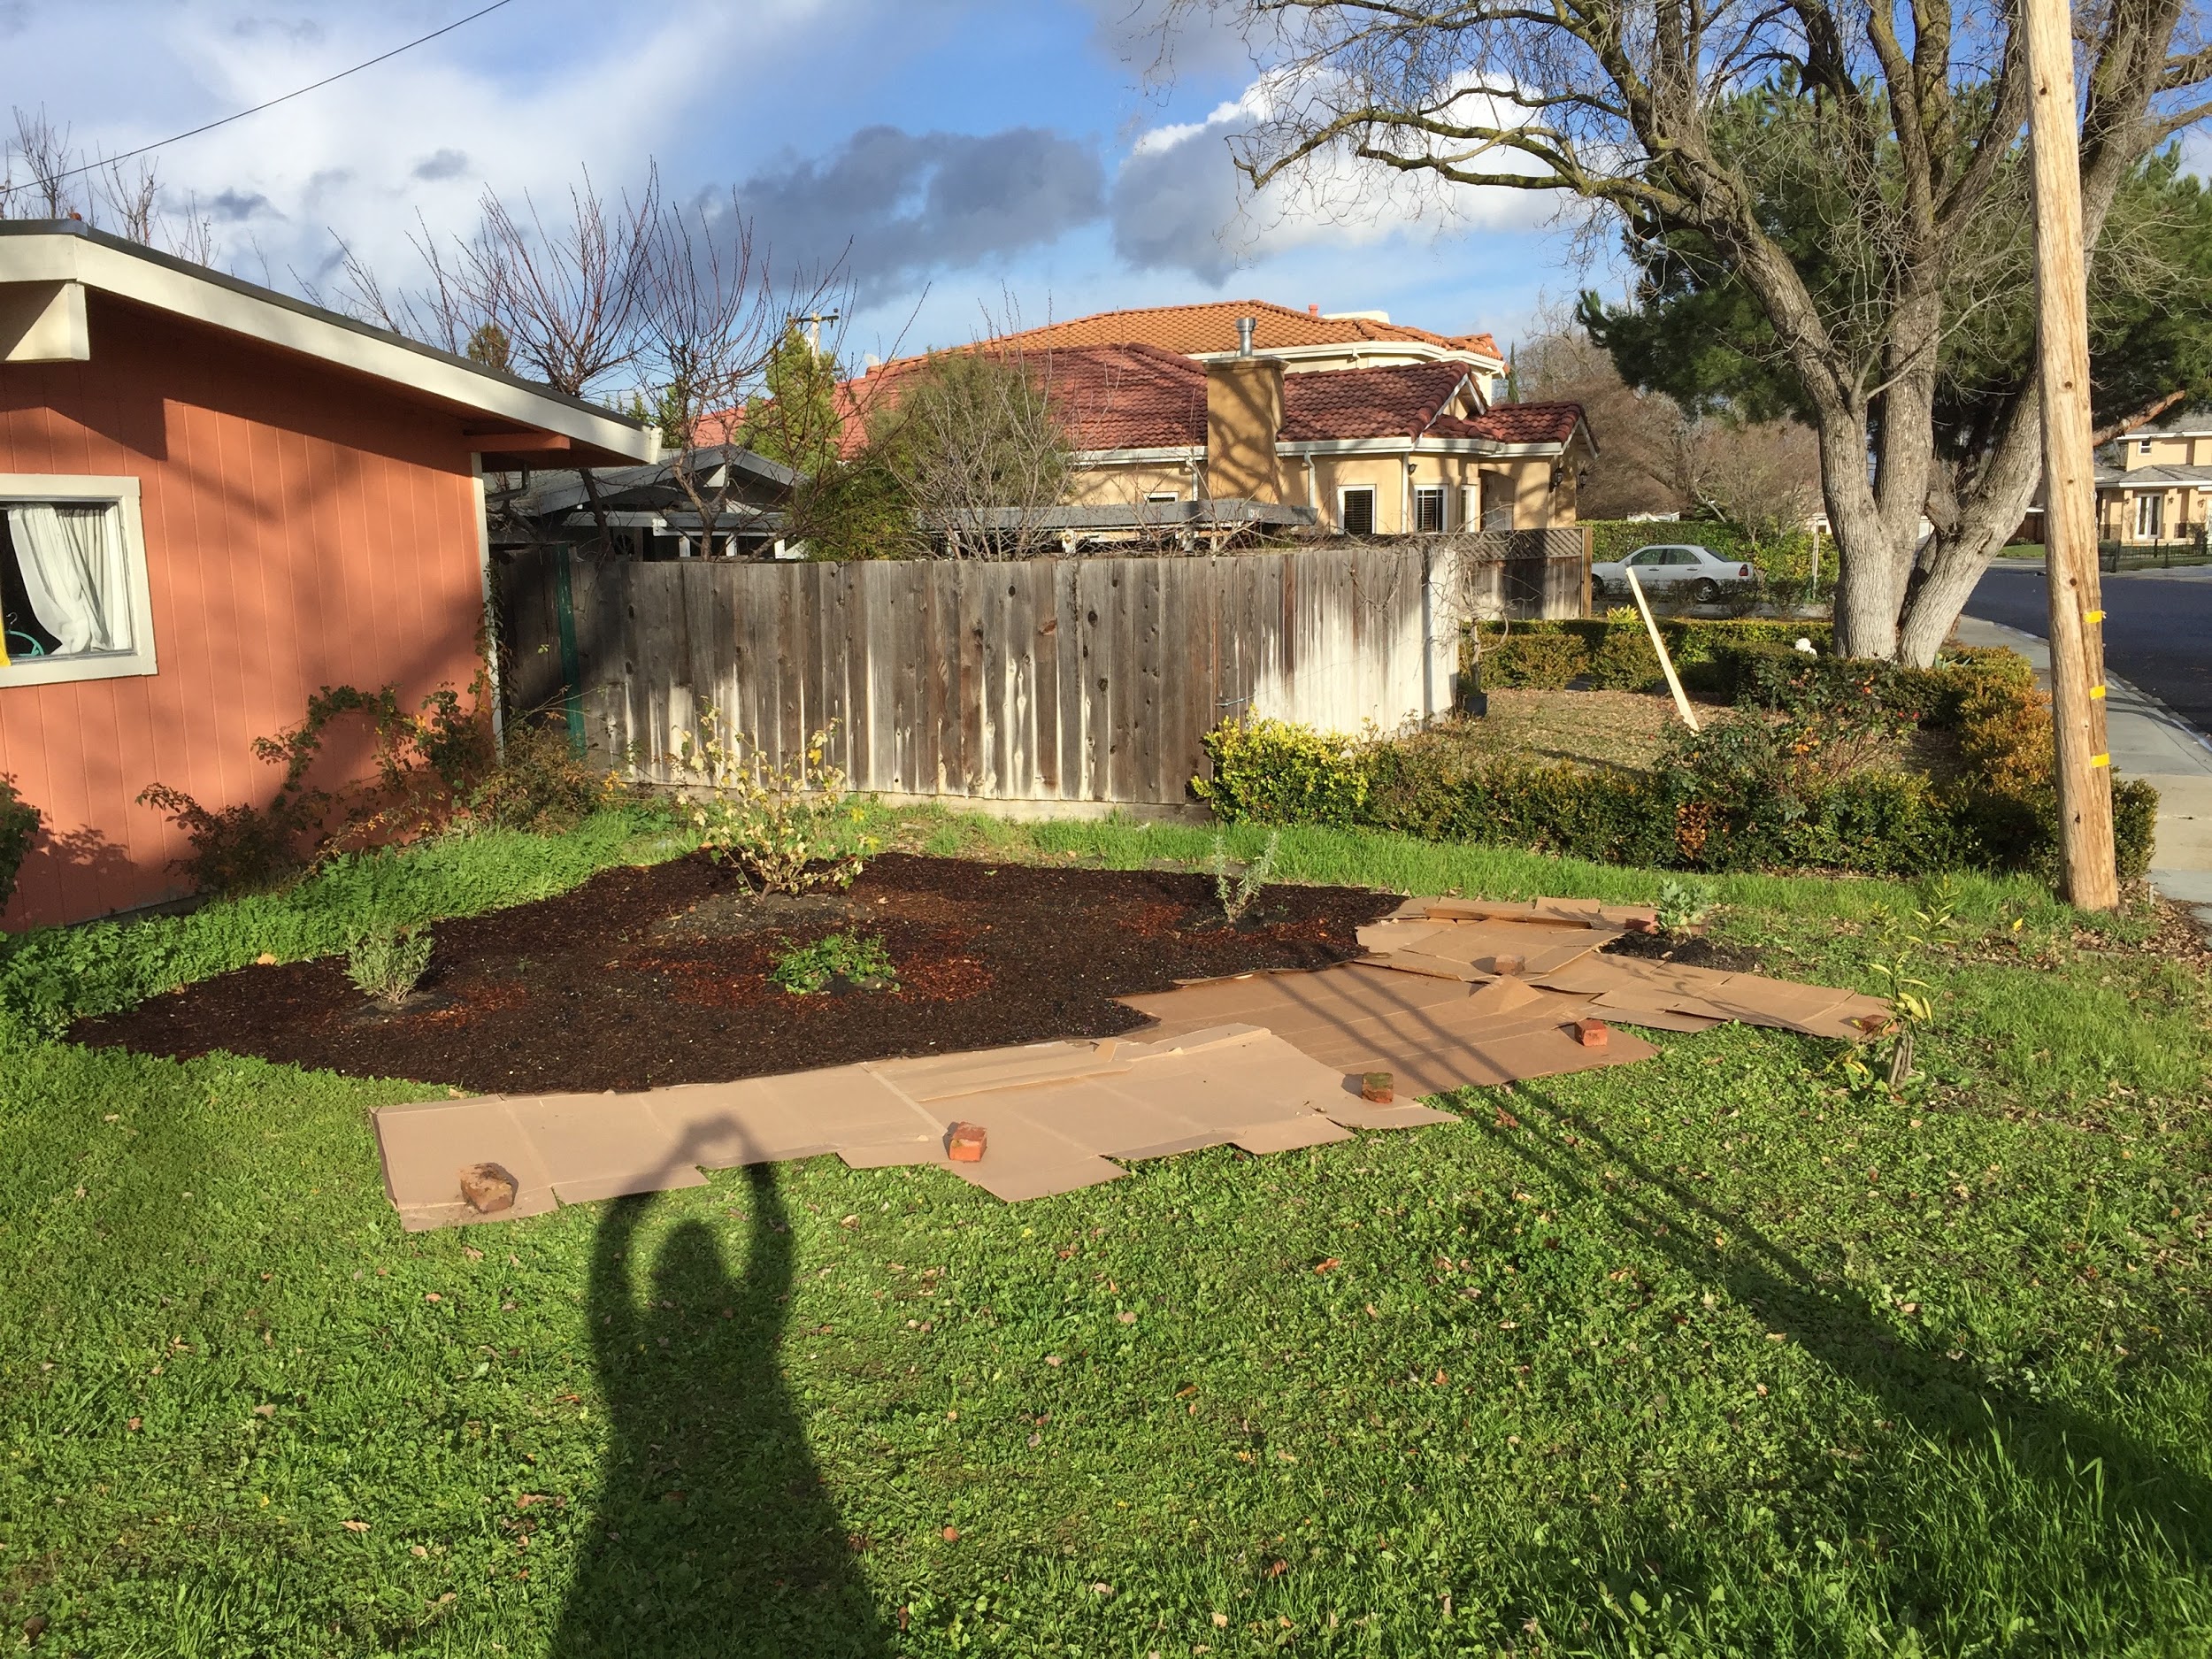
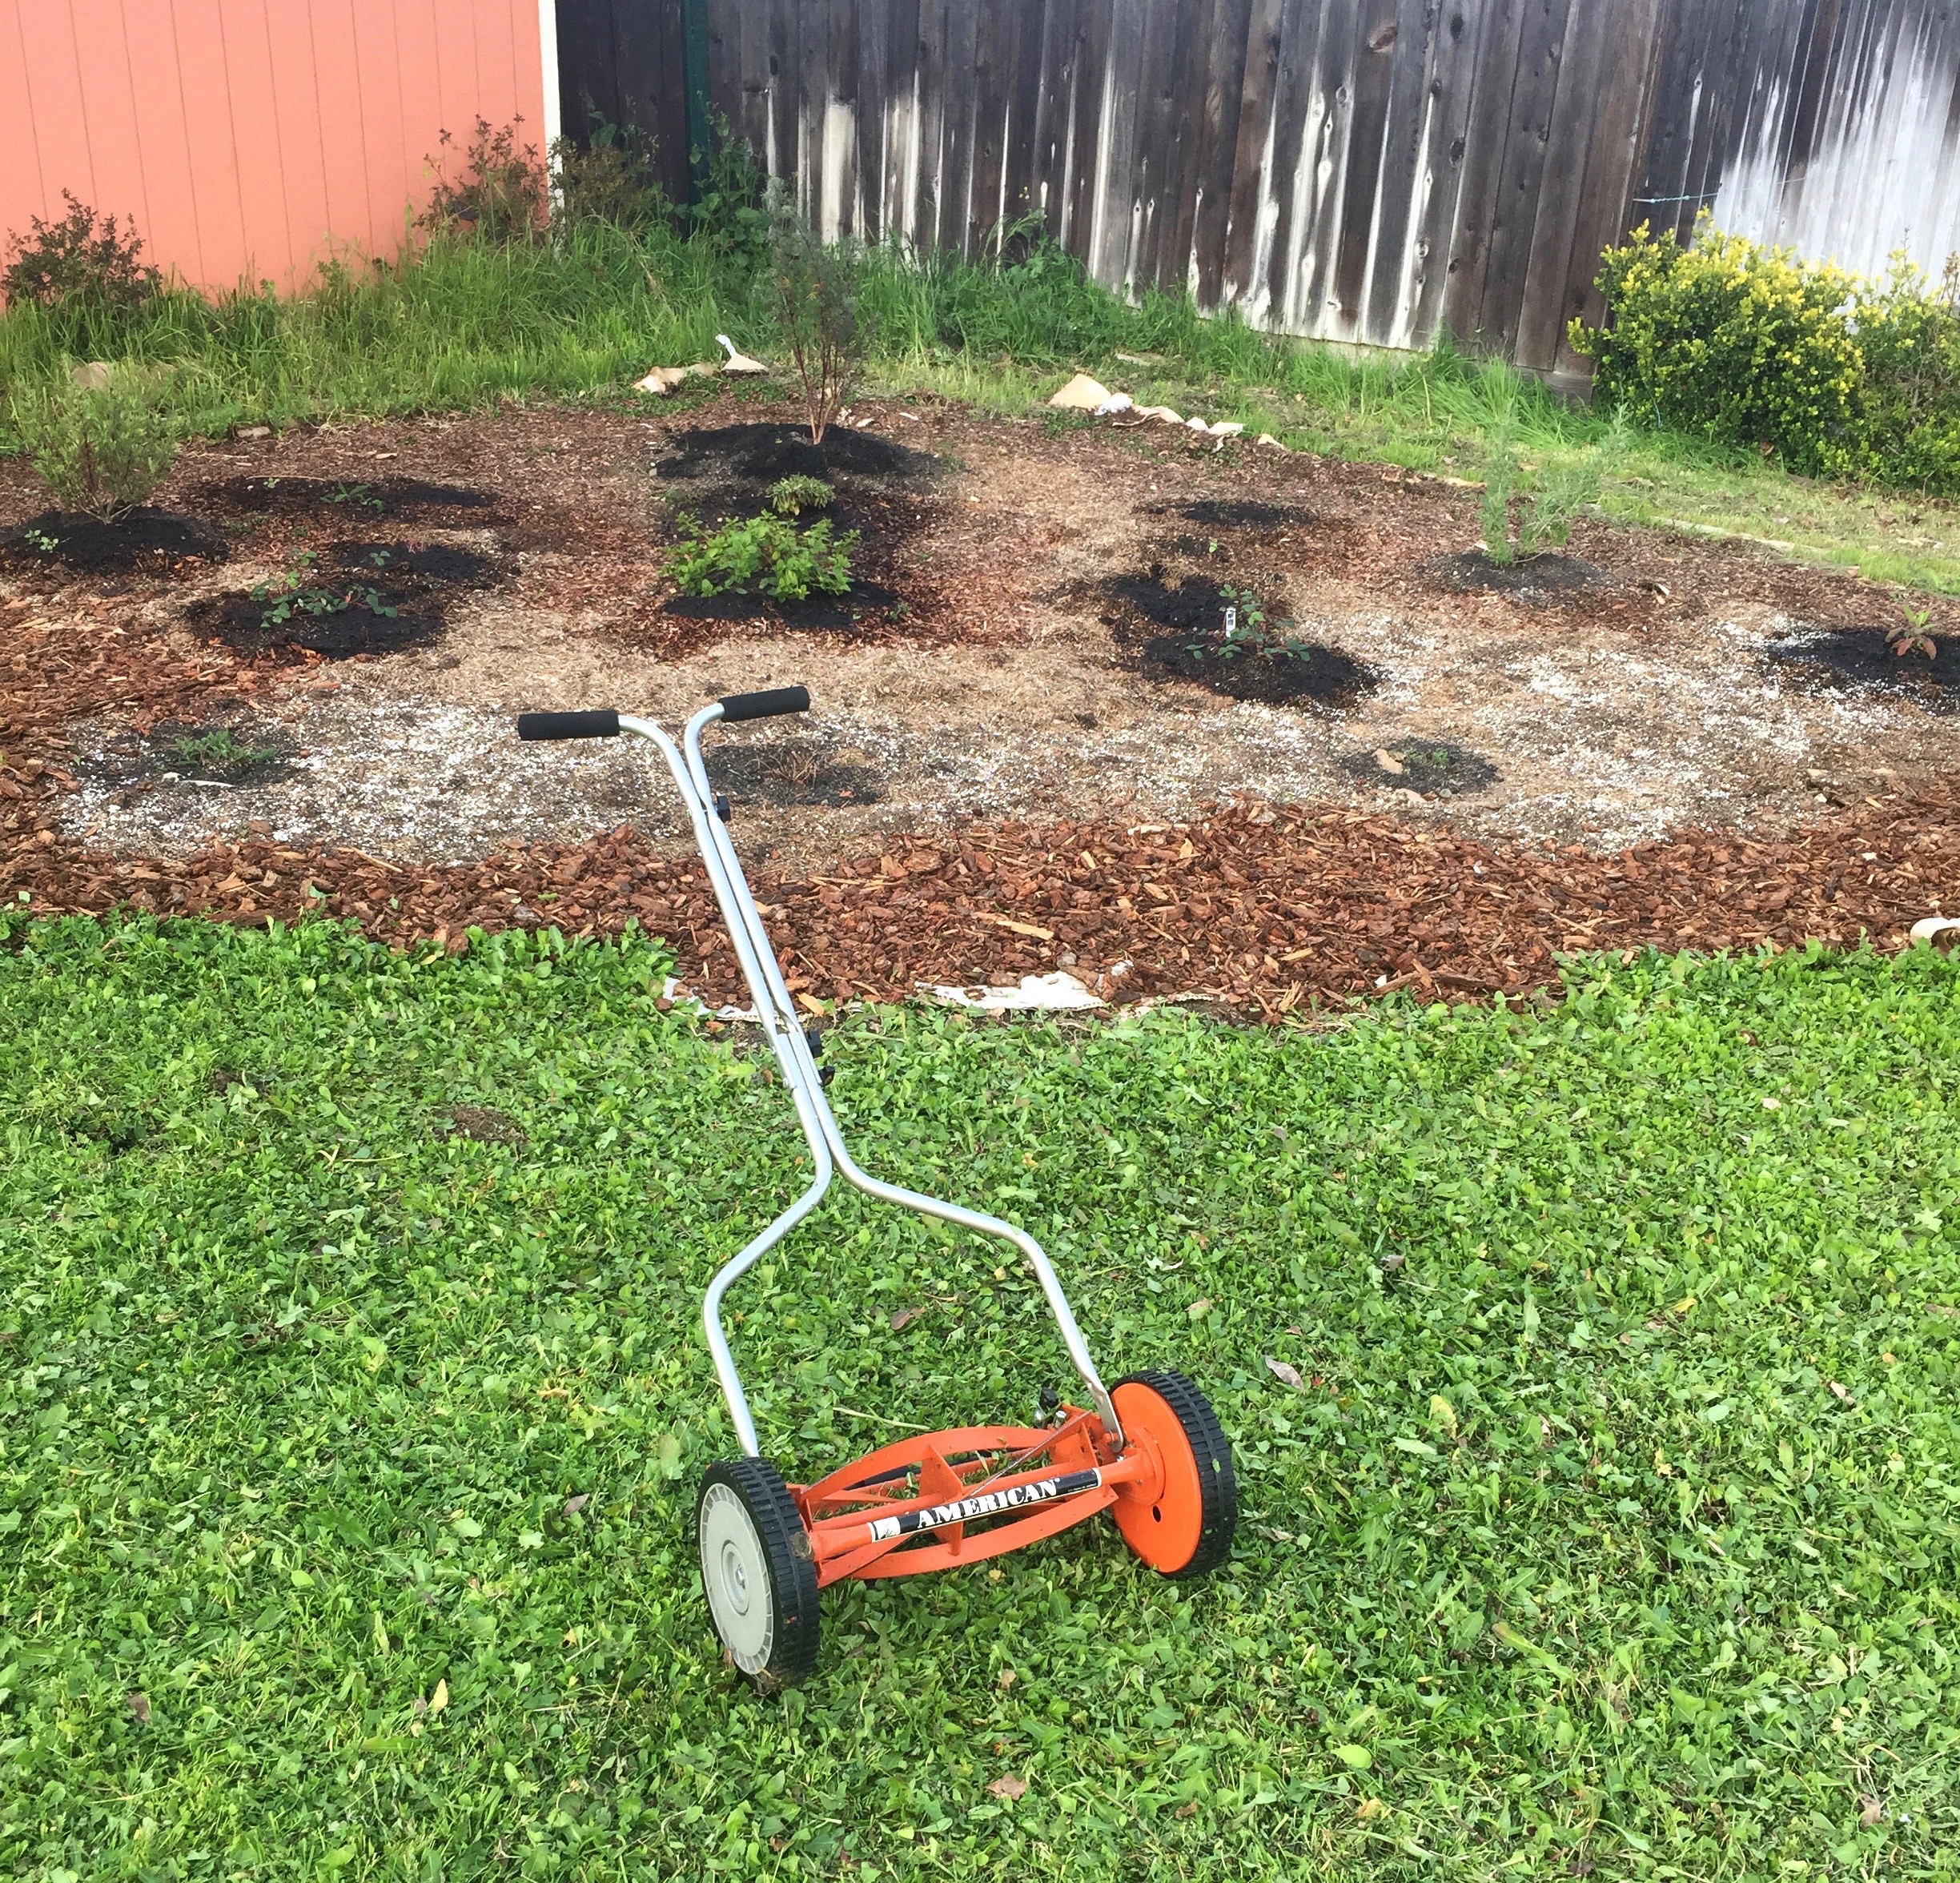
Mow: Before making your sheet mulch lasagna you will need to prepare the area by mowing your lawn or weeds low so nothing is sticking up beneath the next layers. In one of my previous gardens I used an old-fashioned push mower so that all the trimmings could be left behind to decompose and eventually feed the soil. Any additional garden trimmings or leaf debris can be spread in the area as well.
Trench: Along the edges where your plot meets the cement you will want to dig a little trench 3 or so inches deep and about 6 inches in from the cement. This trench will help to keep weeds from popping up along the edges and spoiling all your hard work.
Water: Before laying down all your layers you will want to make sure your area is well watered because before the layers decompose it will be a bit harder for water to penetrate the cardboard.
Cardboard roll method: Next you can roll out your cardboard making sure that the edges overlap about 6 inches so weeds don’t pop through then repeat with the second layer.
Cardboard box method: If you are using cardboard boxes like I usually do to save money, you will want to first remove any tape or staples that maybe on them, then rip or cut along its glued seam so that it can lay flat. Large flat boxes usually are the best to use because they will have smaller gaps near the box flaps that will need to be covered. Once you overlap and puzzle piece together your first layer you can patch up any open or torn spots with a couple paper grocery bags or even old cereal or frozen pizza boxes.
Compost: Spread a layer of compost about 2 inches thick over your cardboard. This step is great if you can afford it or your City Green Waste disposal has a free compost program. This is not a step I have personally used because of the cost and my gardens have looked great without it, but there are many benefits to using compost. The compost will help break down the cardboard more quickly and it will feed the soil microorganisms that will loosen compacted soil, help retain moisture, and create a healthy soil biome for your new plants.
Mulch: Spread a ~3 inch thick layer of mulch over your last layer. You can find mulch at your local garden center, for free on craigslist, or for free from local arborists. With the combination of cardboard and mulch, any existing weeds underneath will be blocked from re-emerging, photosynthesizing, or germinating. Along with the cardboard and mulch, the dead weeds will decompose and become food for soil microorganisms.
Water: After all your layers are in place go ahead and water them in.
Plant: Now you can cut out holes in your sheet mulch and plants some native plants!
Sheet Mulching Success Stories
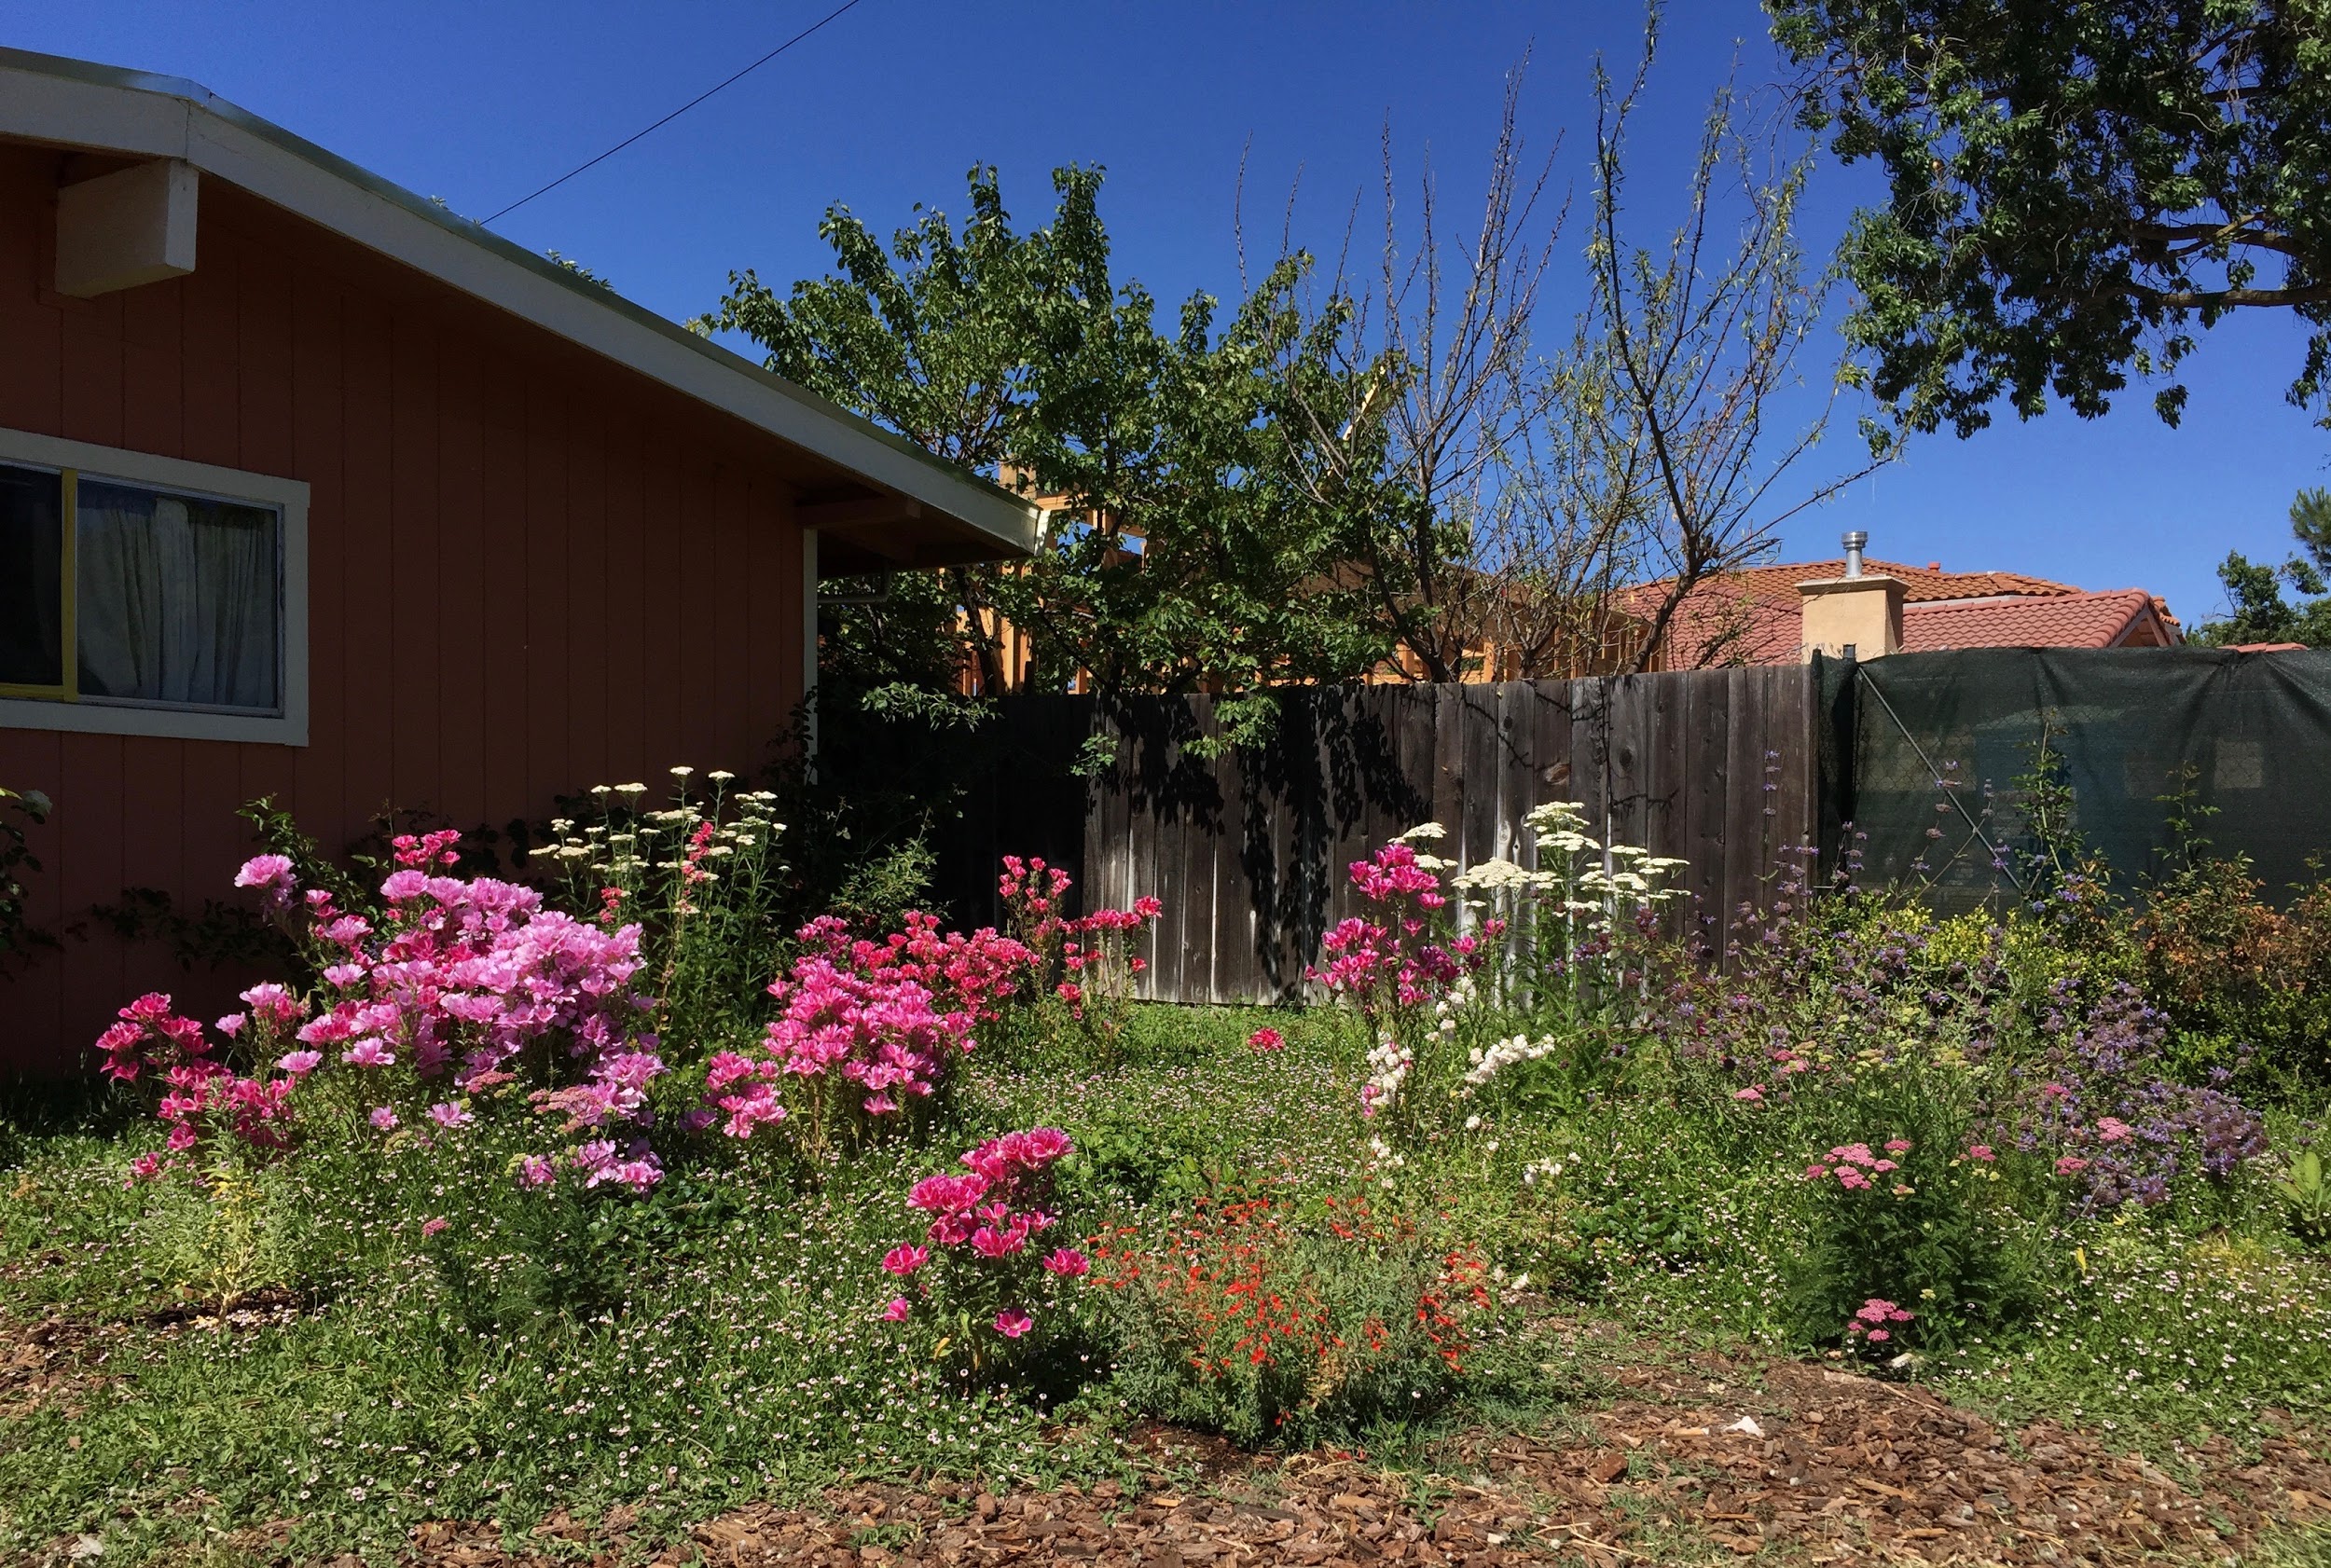
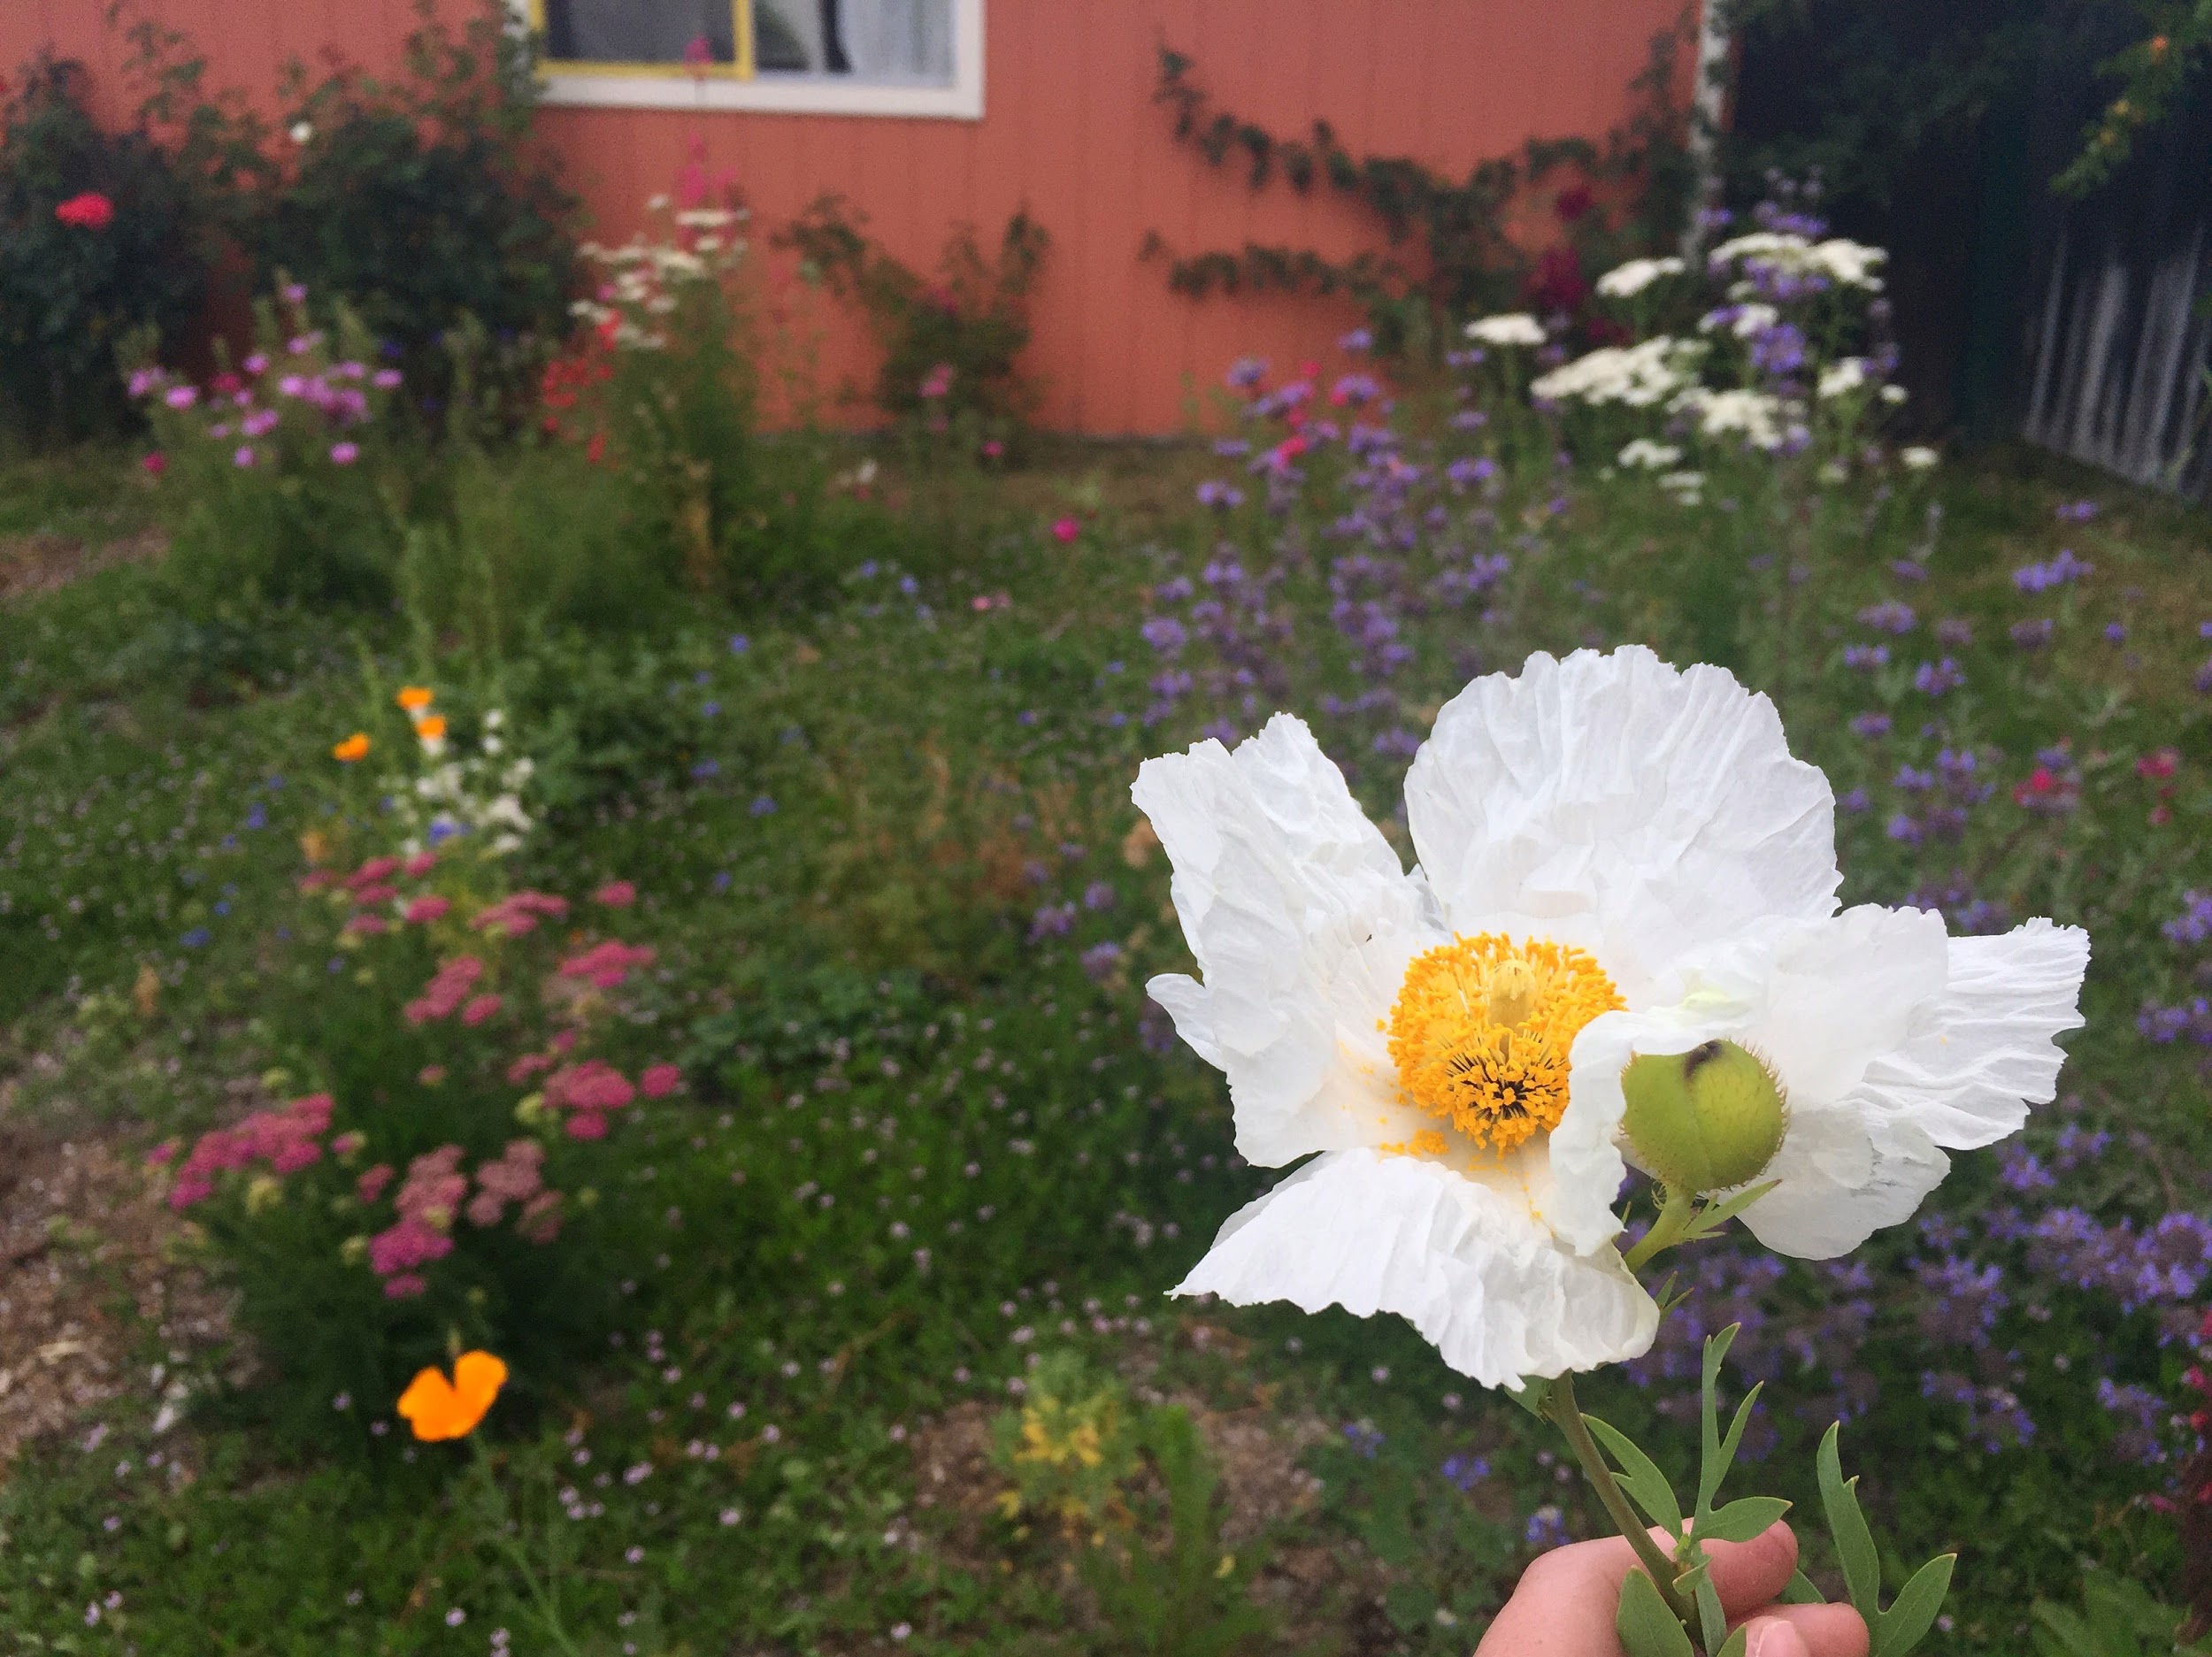
These are pictures from a place I had rented in Cupertino. The “lawn” was covered in 2’ of weeds which I chopped down with my mighty push mower and electric string trimmer. I was only able to do a portion of the lawn and the side yard but the results still exceeded my expectations! In the front lawn, what was once all weeds became a Iush butterfly haven with ground covering Lippia (Phyla nodiflora), Cleveland Sage (Salvia clevelandii), Common Yarrow (Achillea millefolium), Fairwell-to-Spring (Clarkia amoena), california poppy (Escholzia californica), matilija poppy (Romneya coulteri), and California Fuchsia (Epilobium canum).
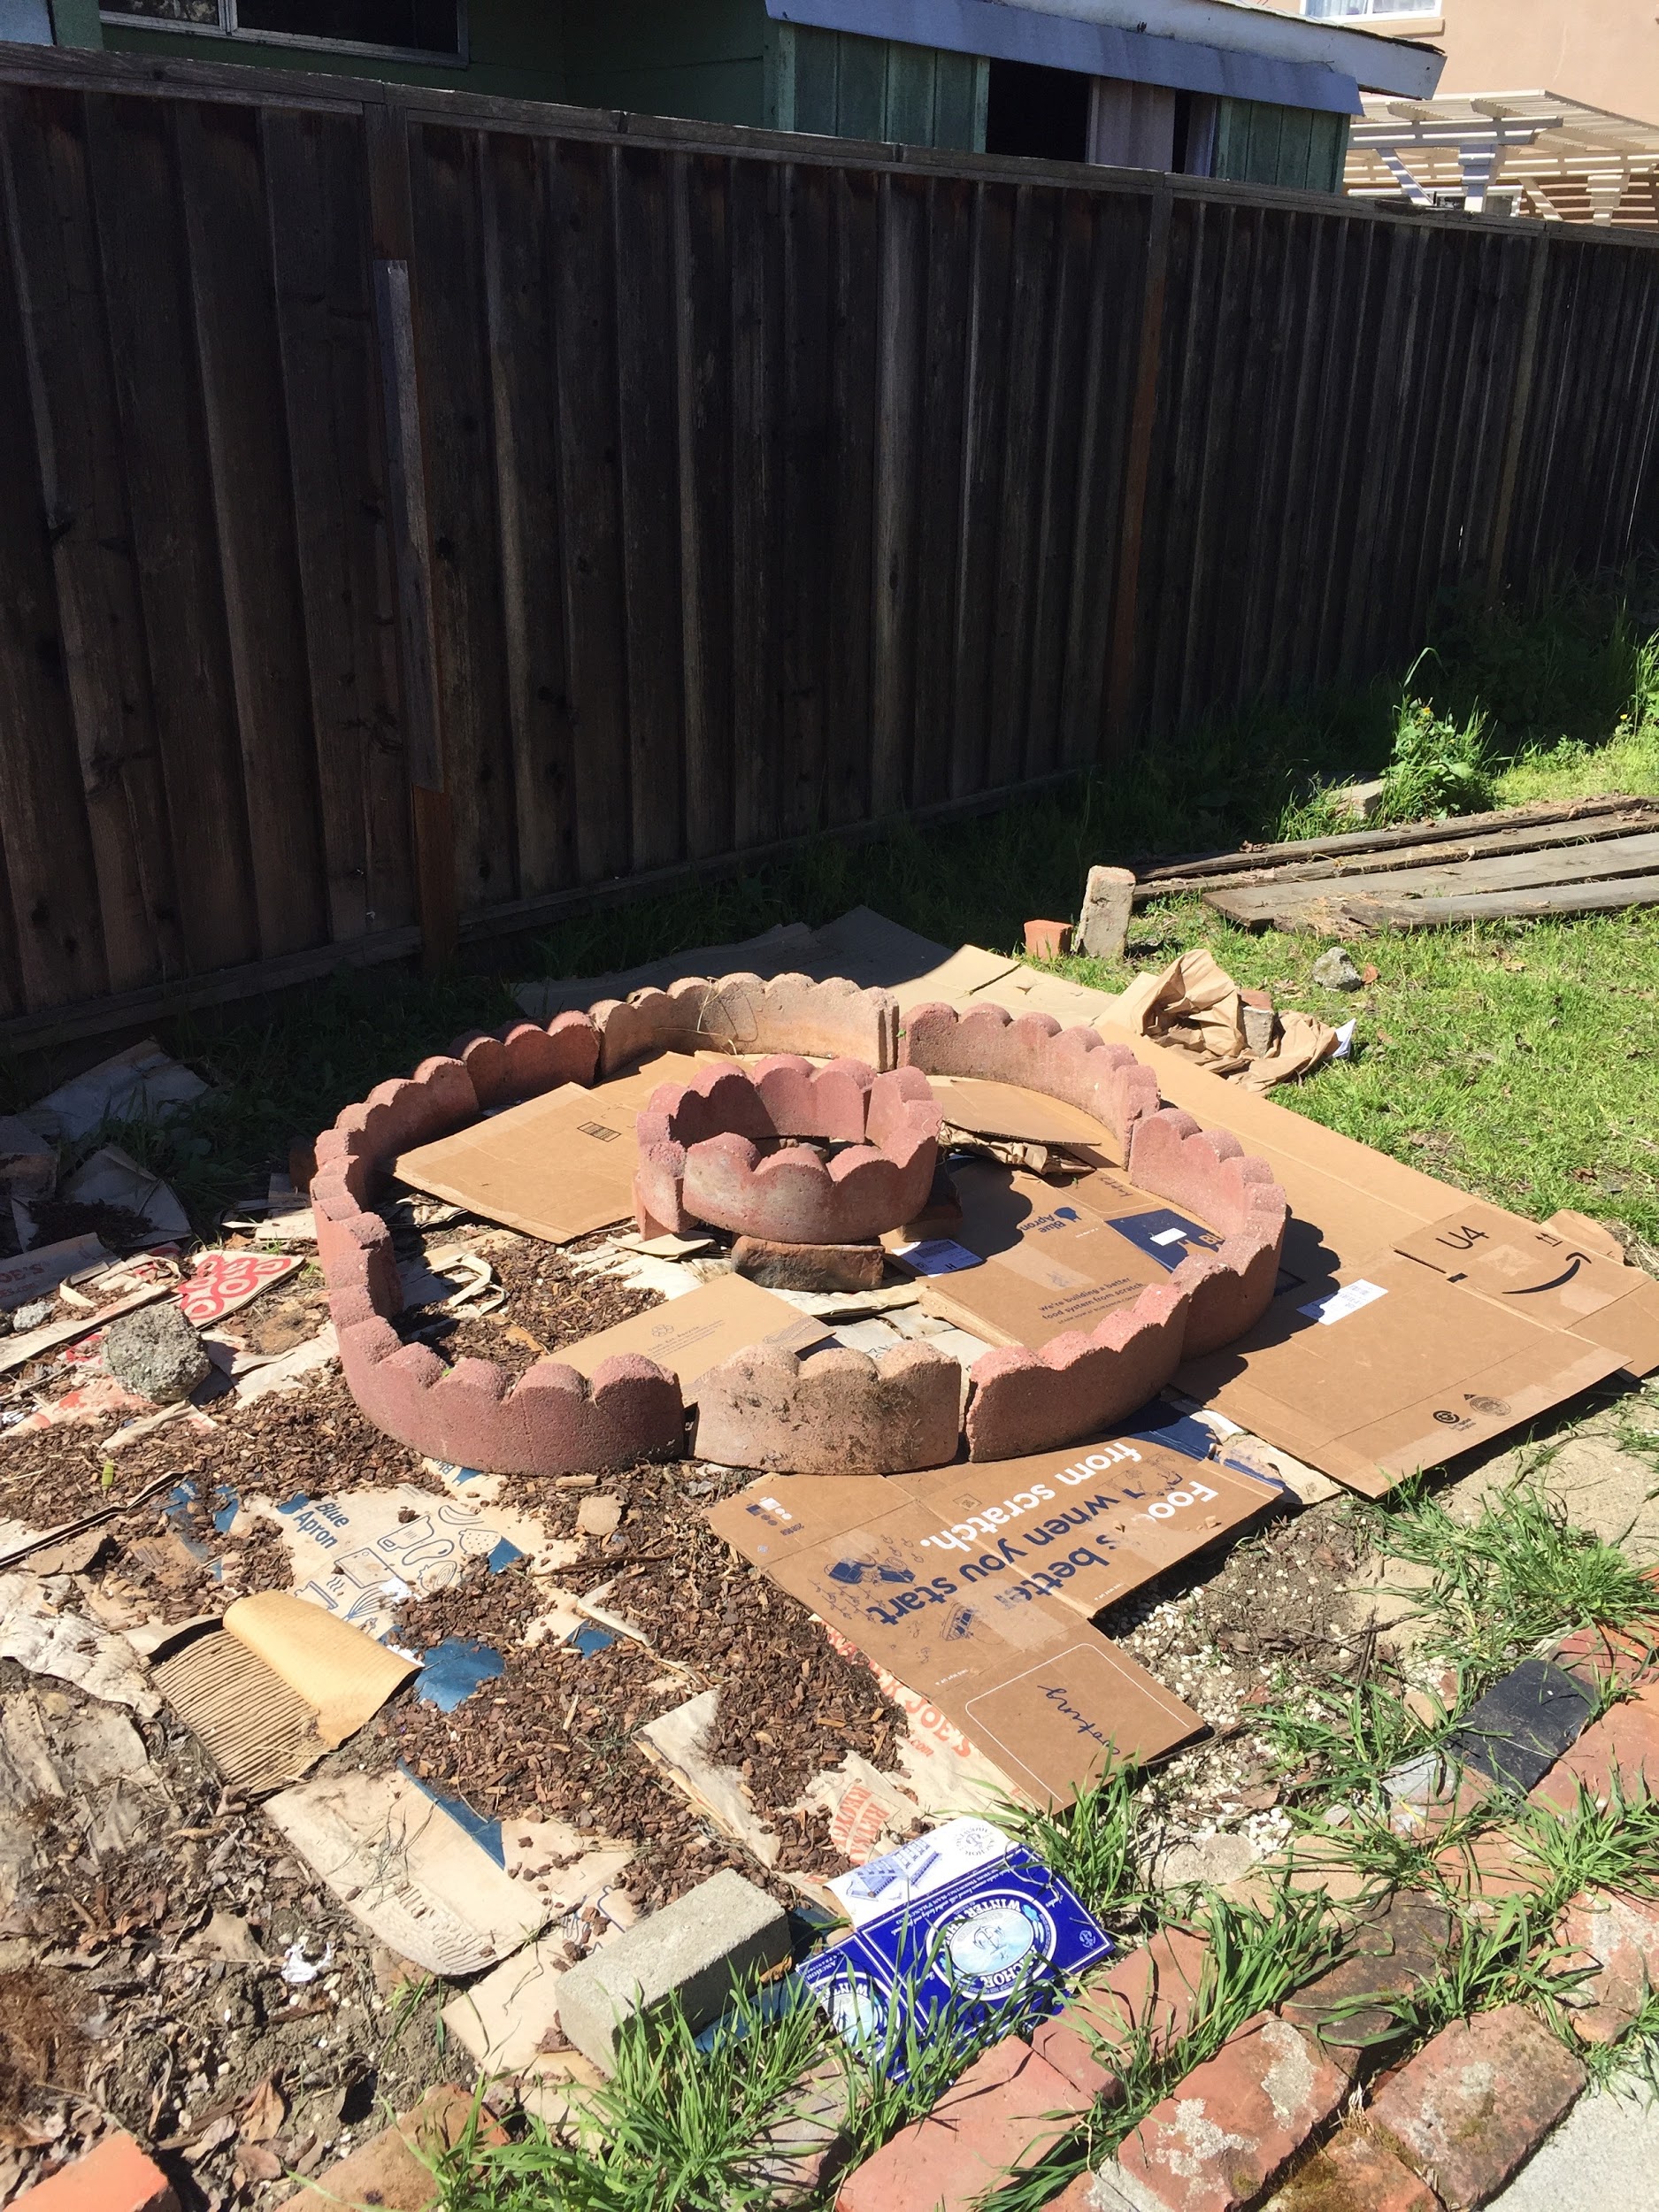
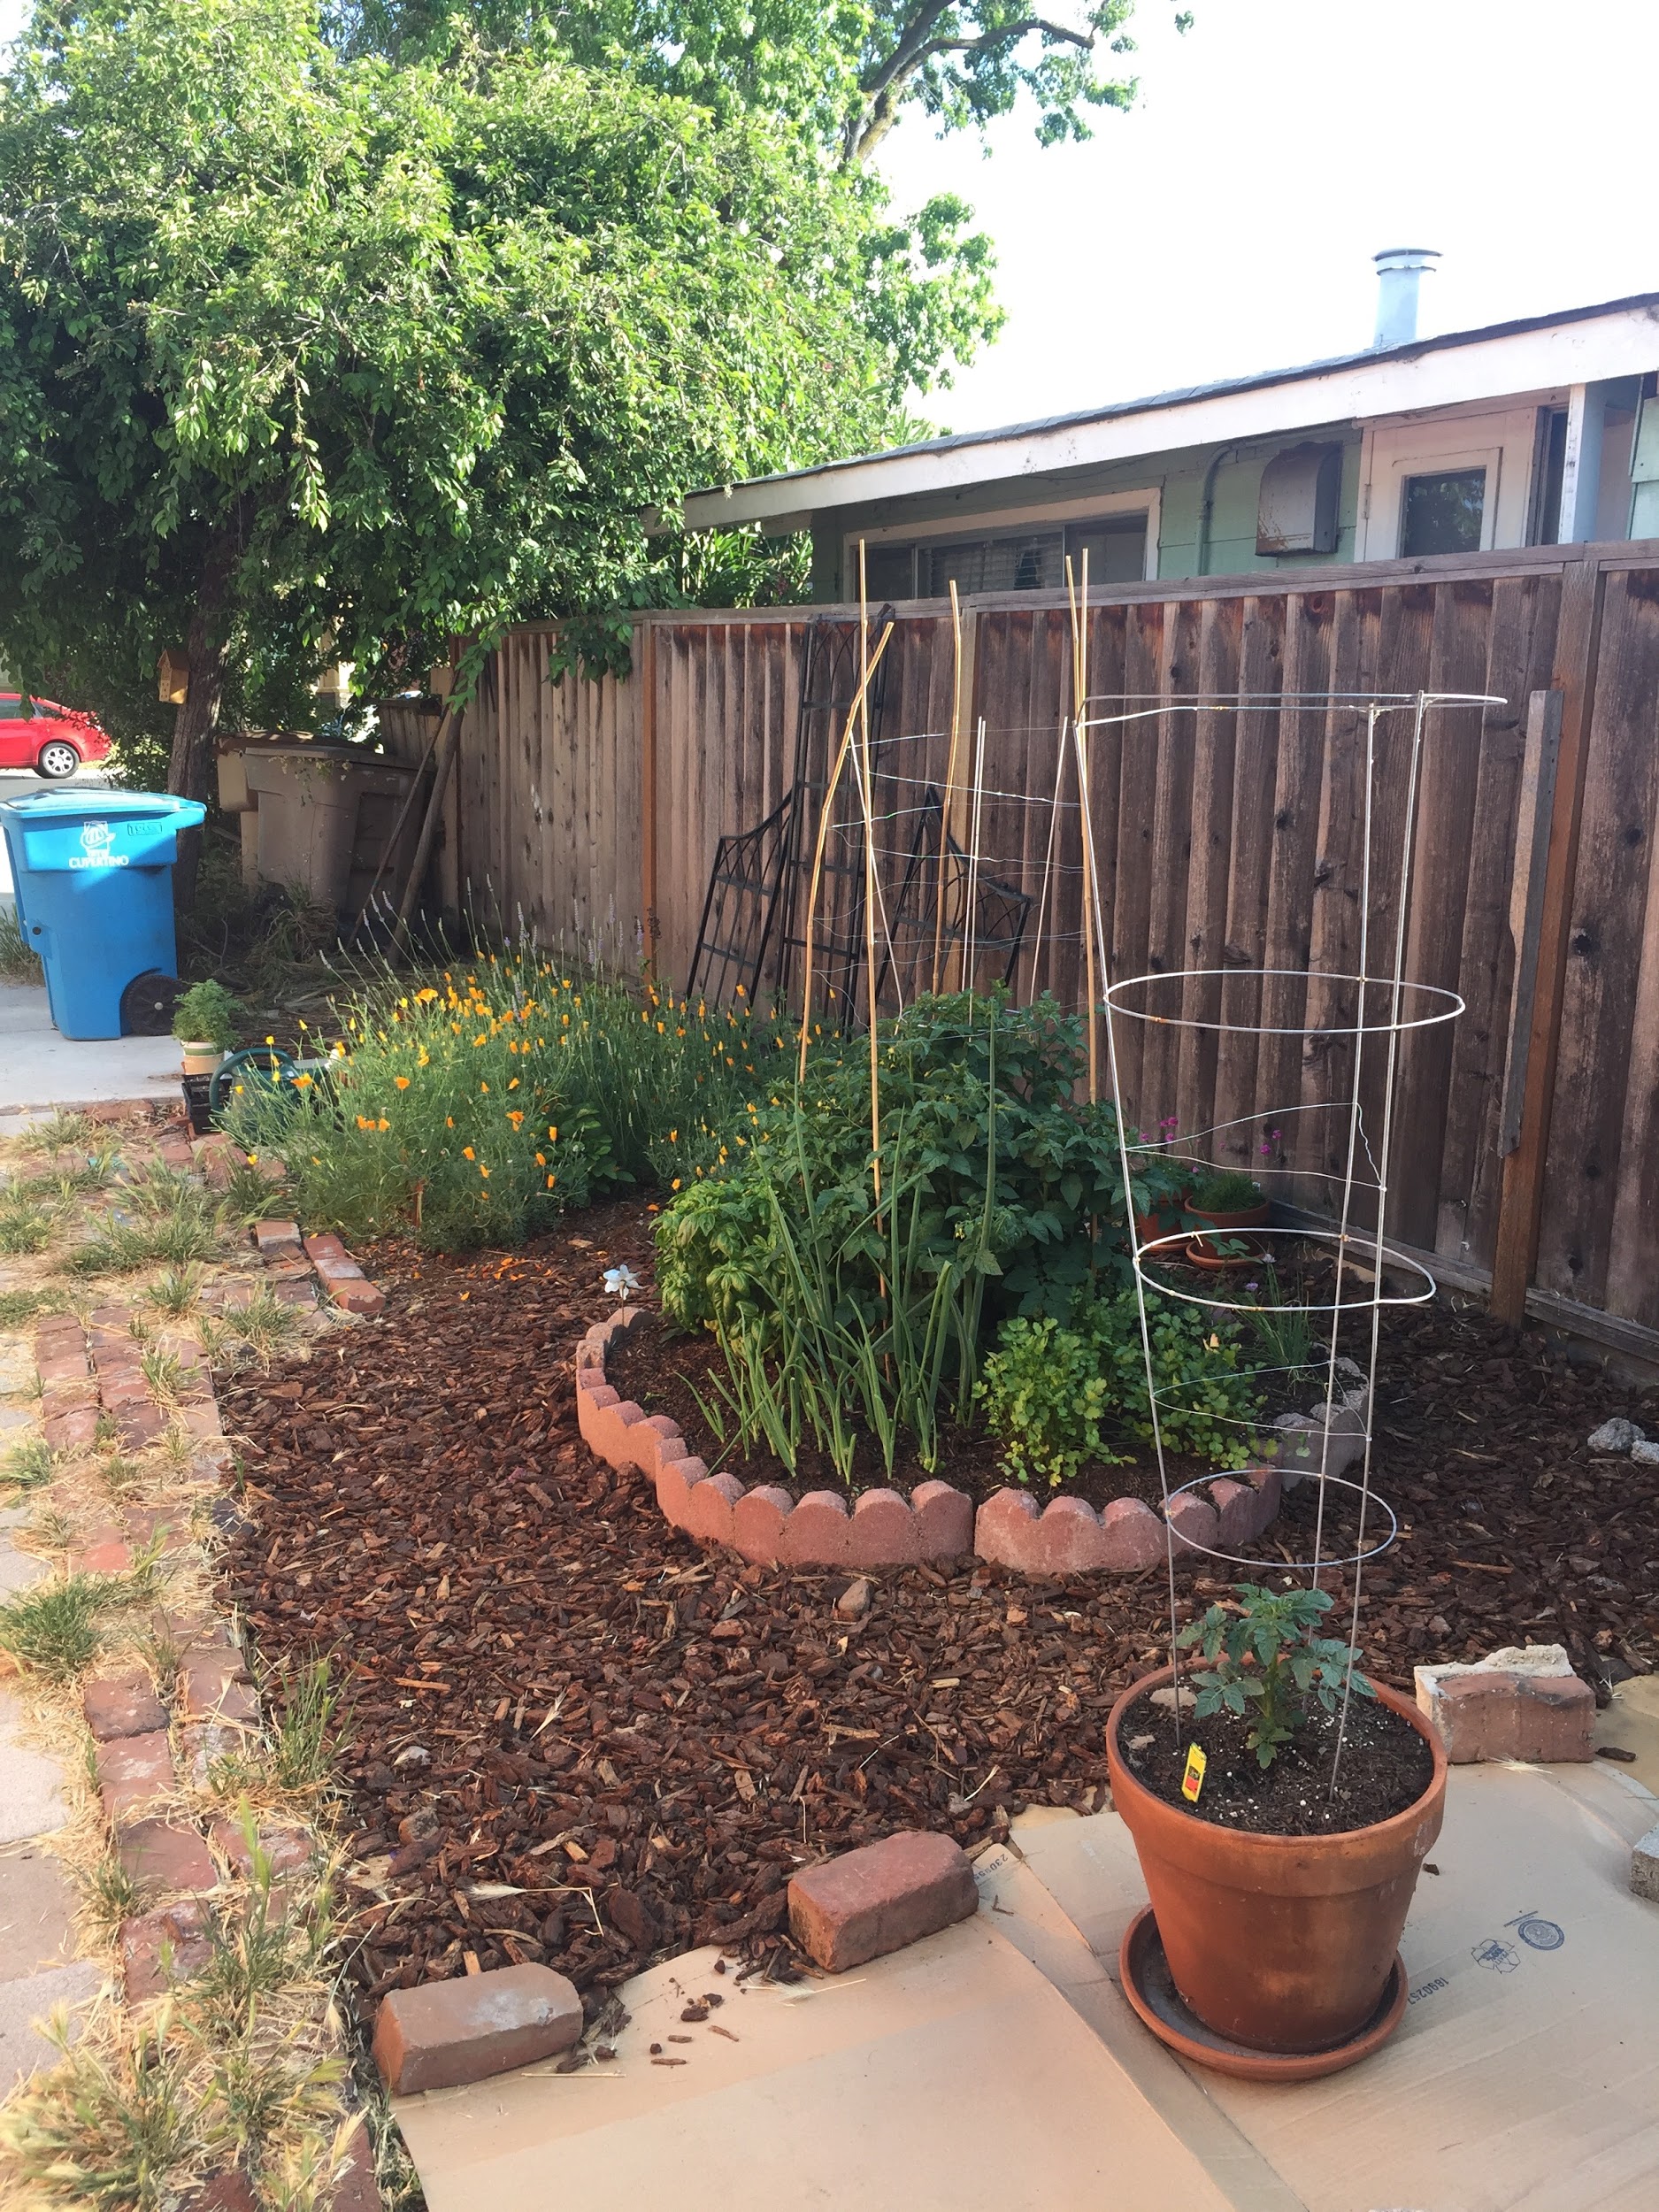
Side Yard
On my side yard I created a beautiful vegetable/pollinator garden!
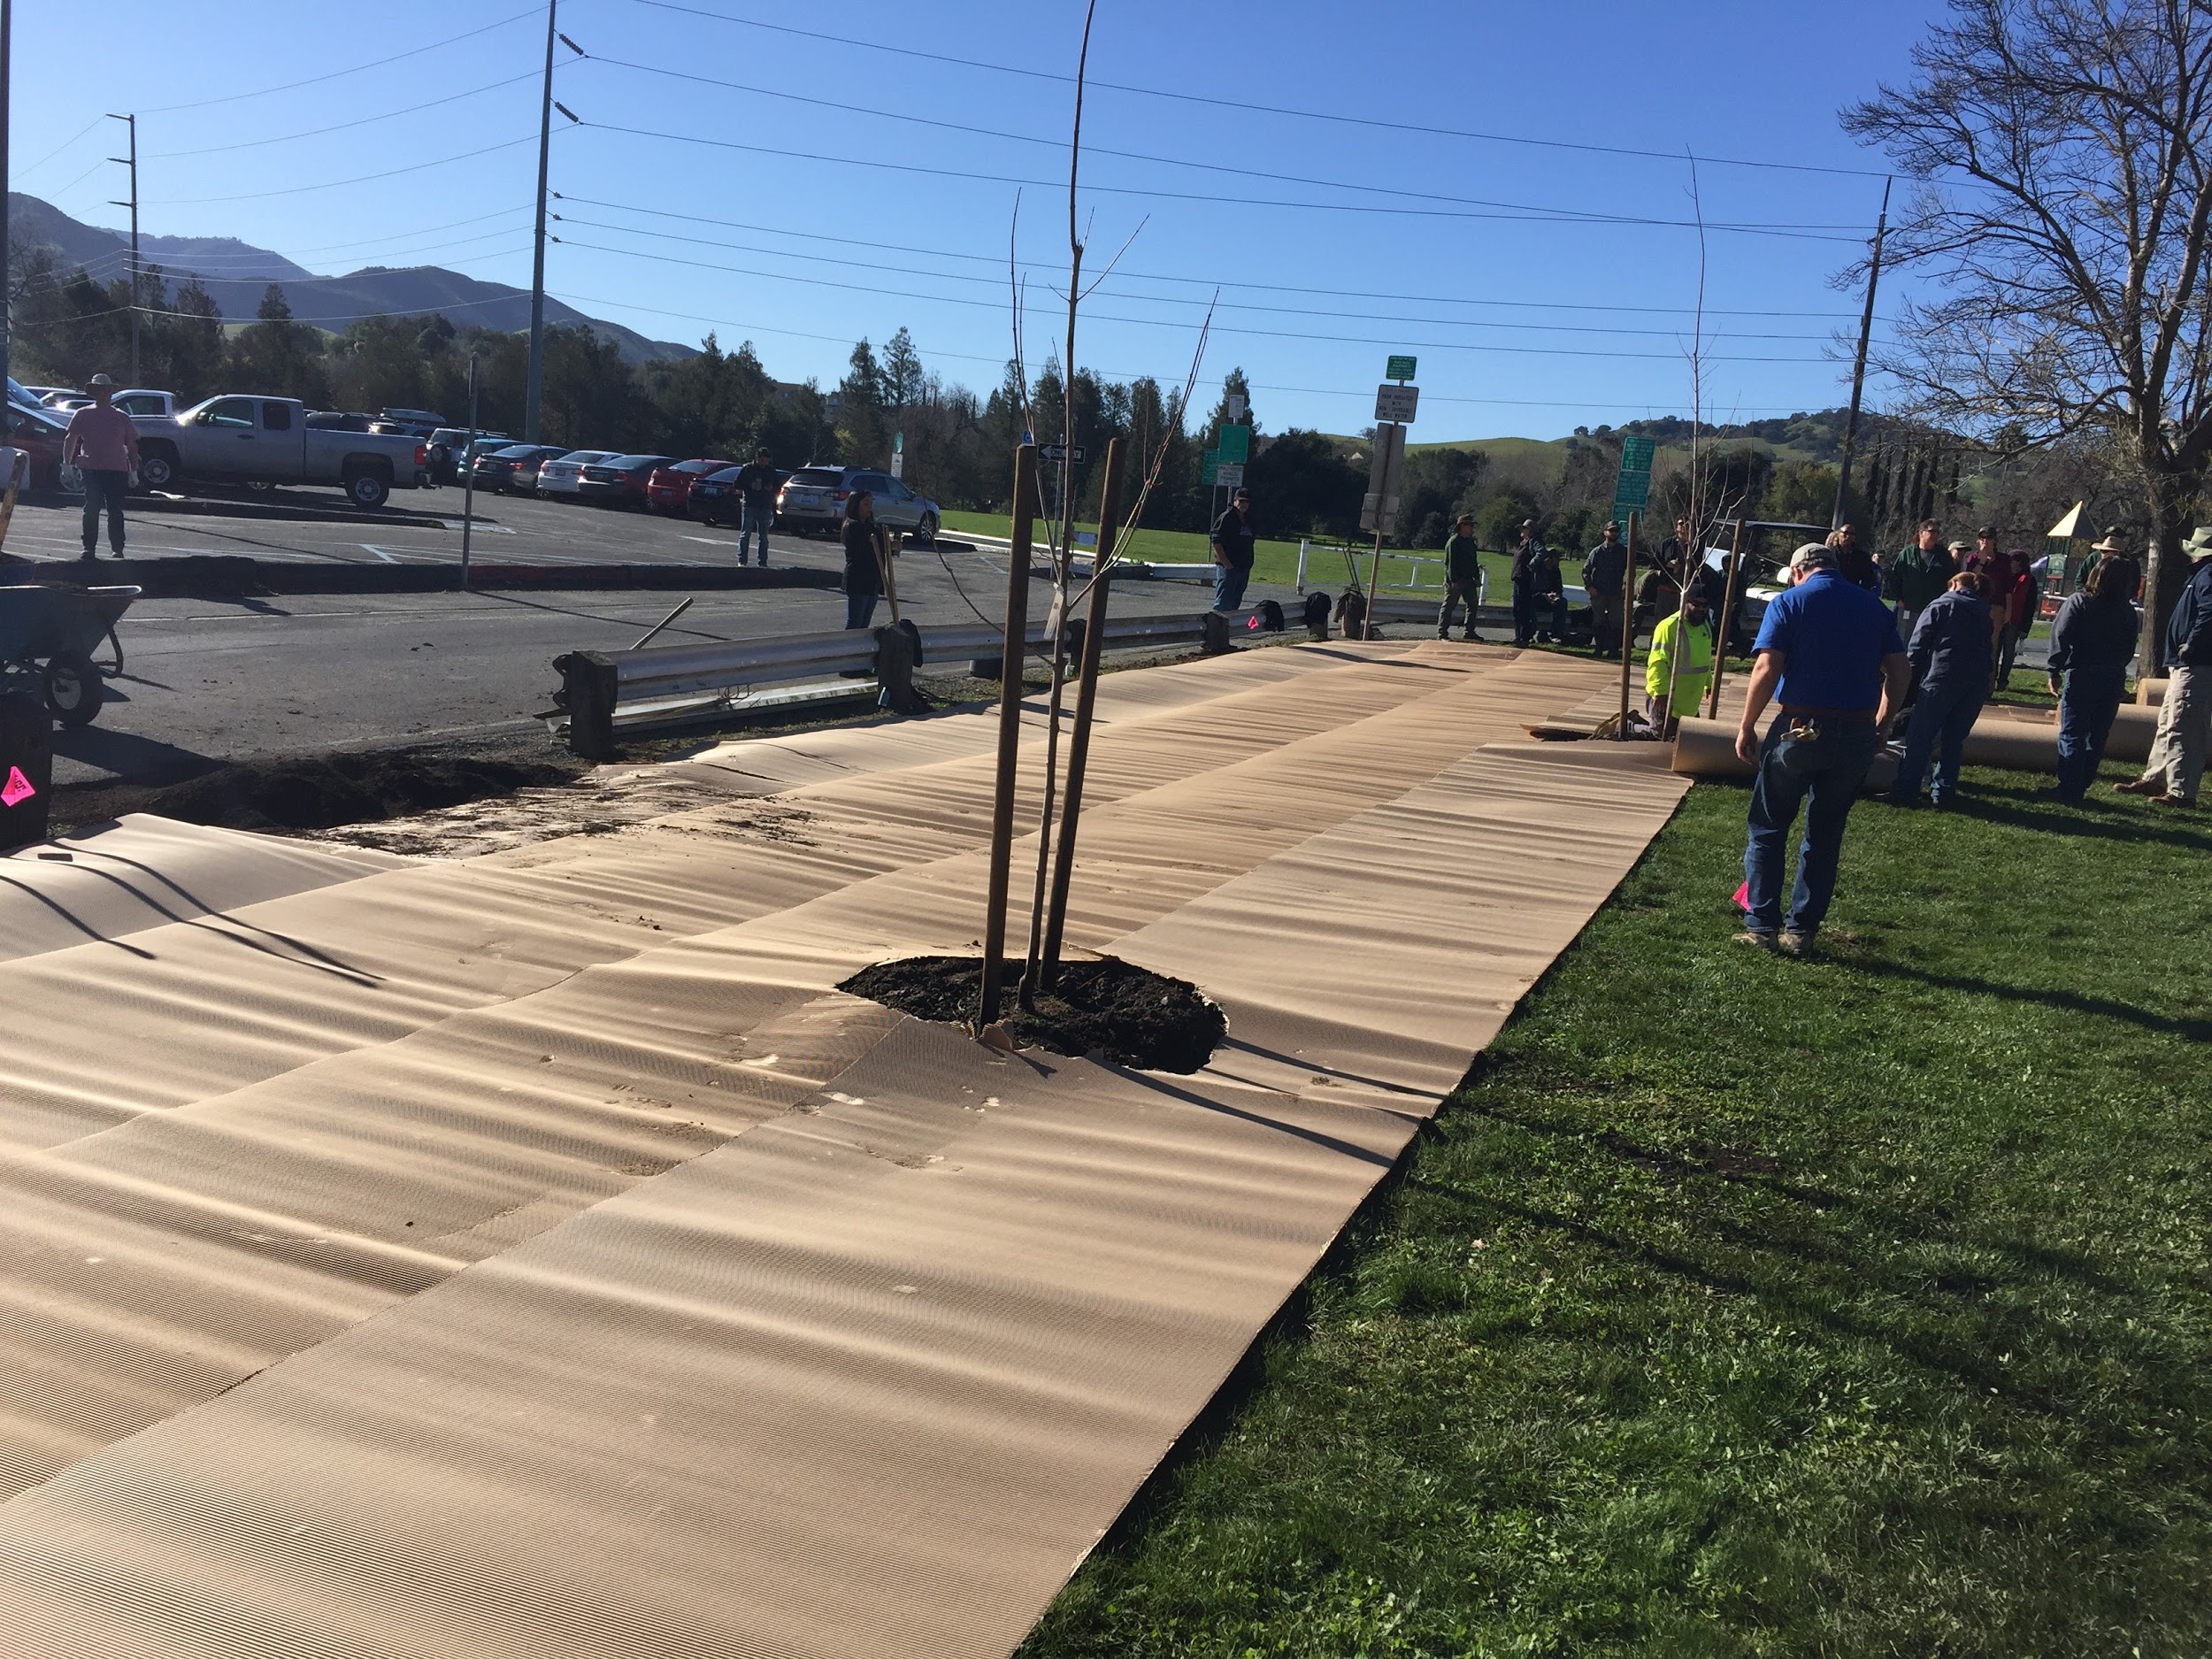
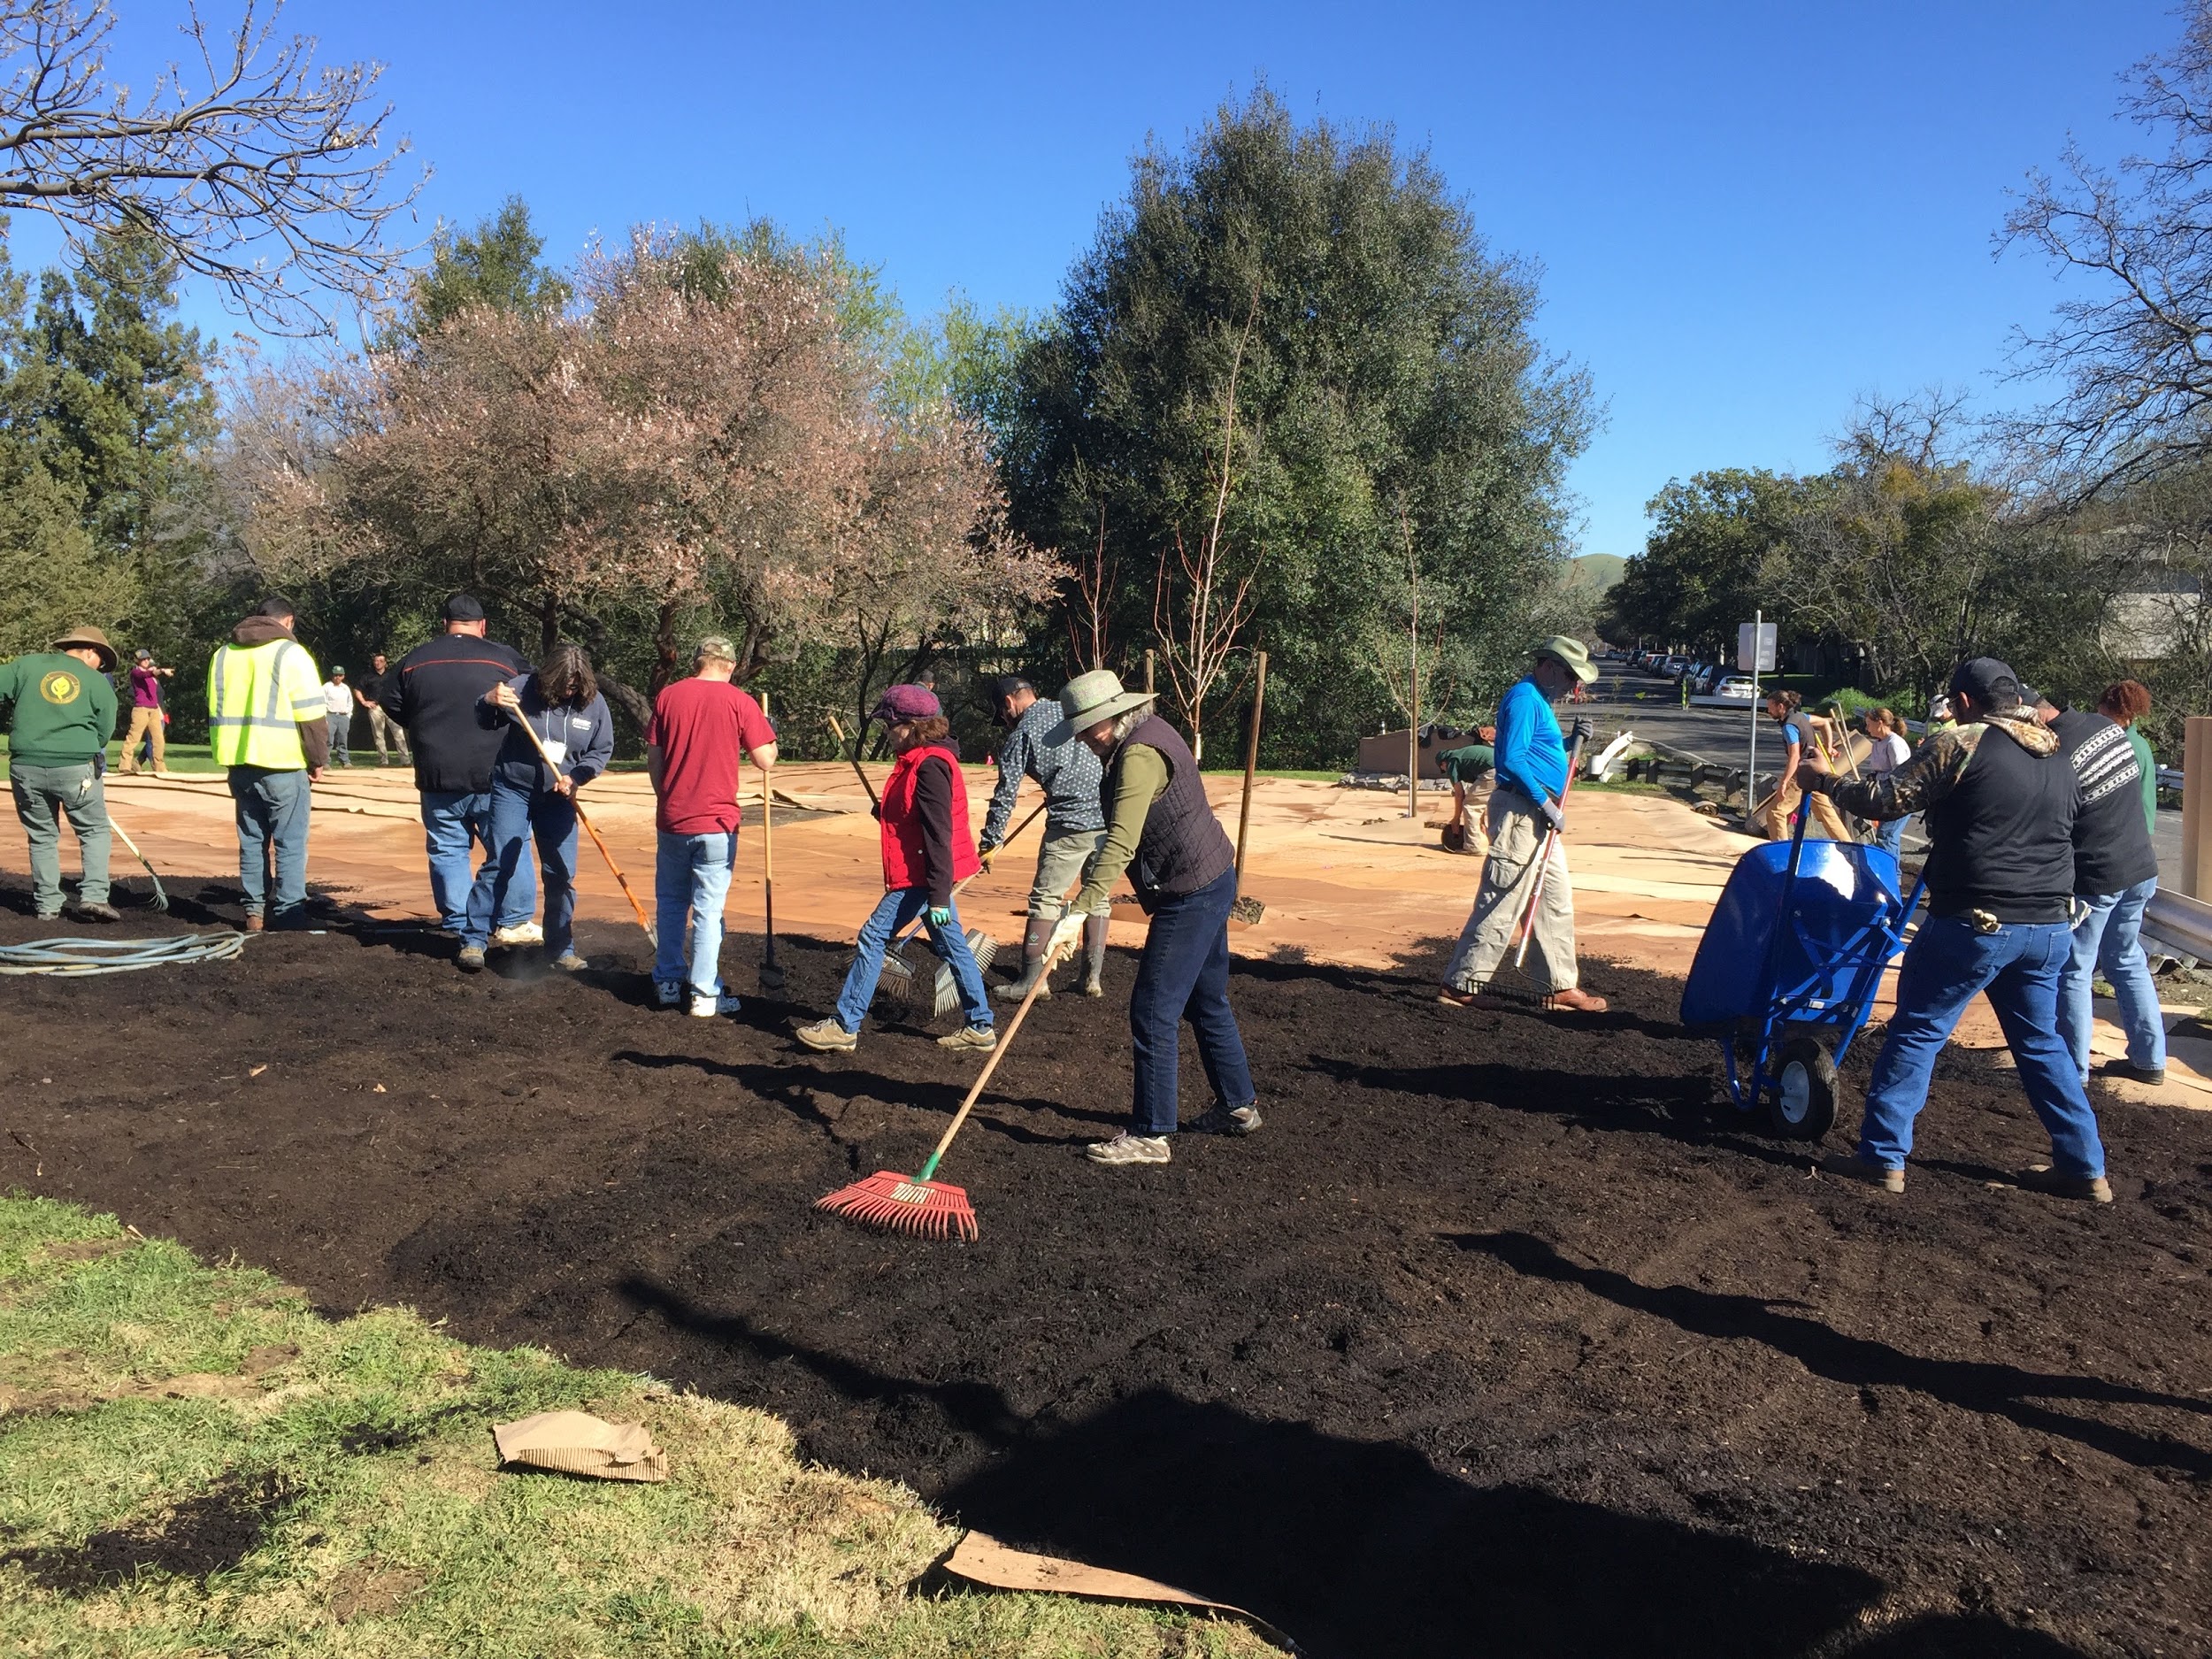
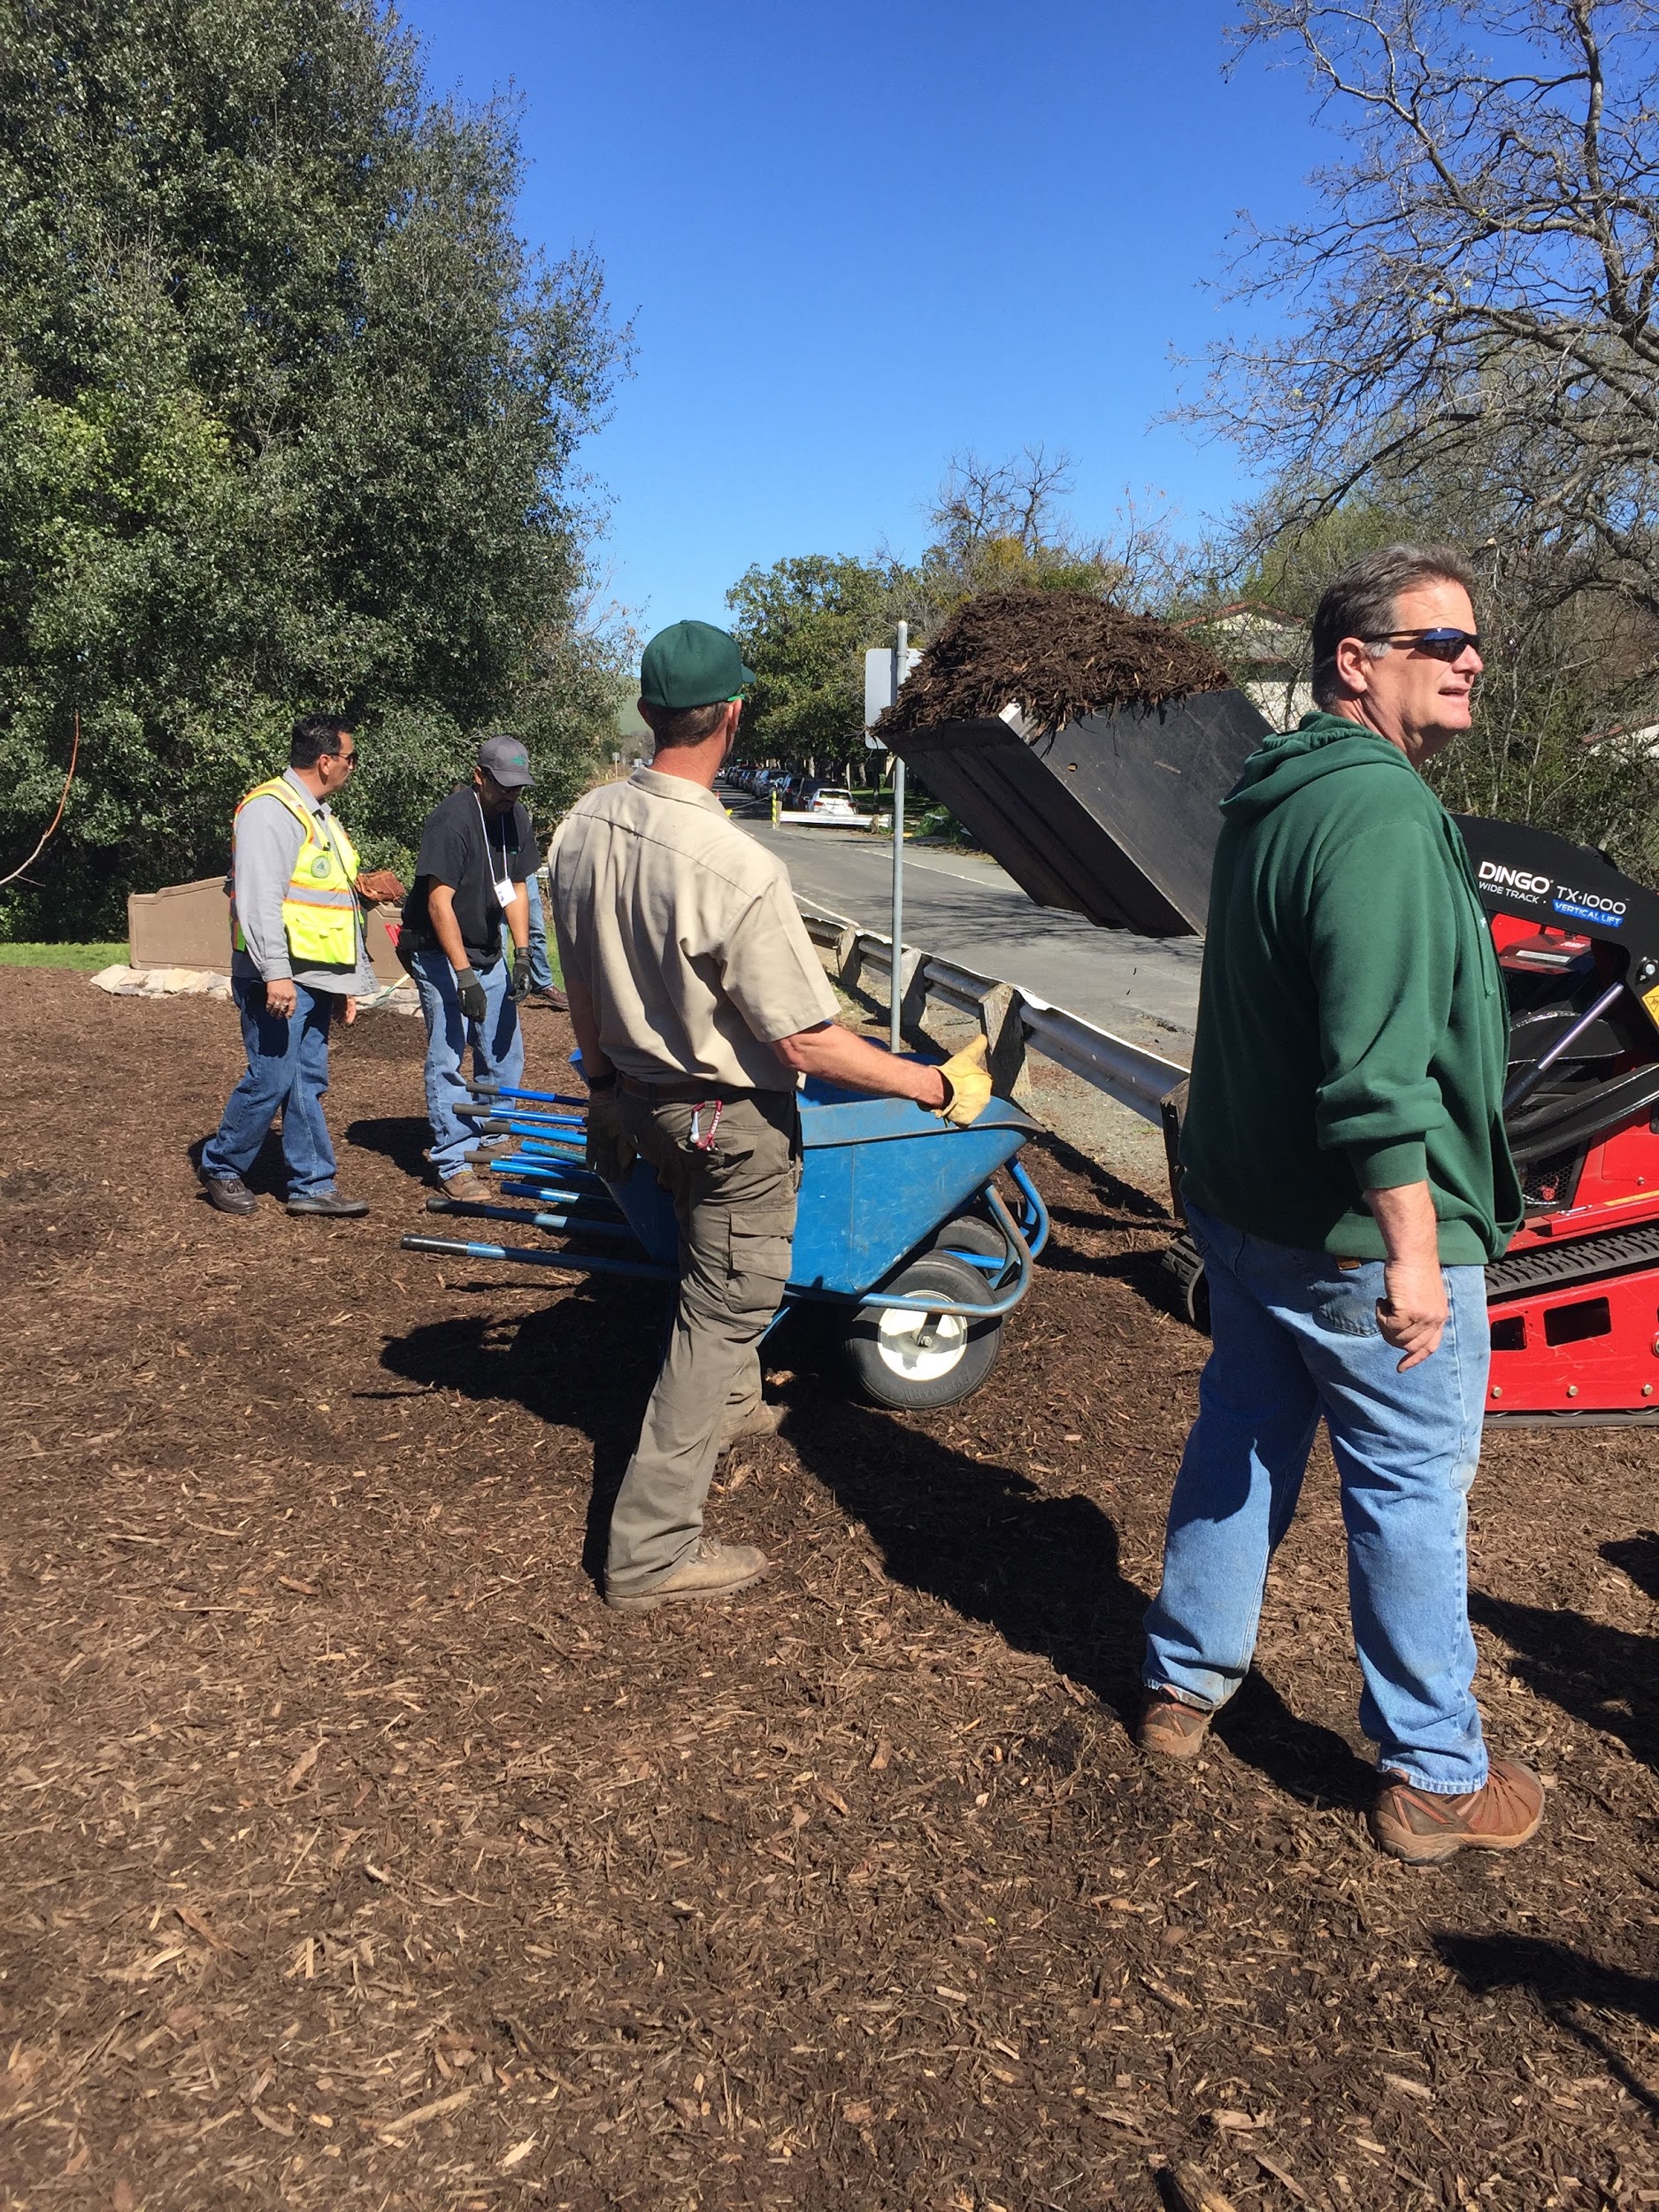
Bay Friendly Landscaping Sheet Mulching Project
Here we have a sheet mulching project I helped with at a park during my Bay Friendly Landscaping Certification. For this project we used rolls of cardboard and compost.